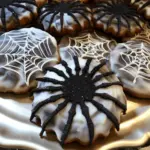
Introduction to Glazed Chocolate Spider Cookies
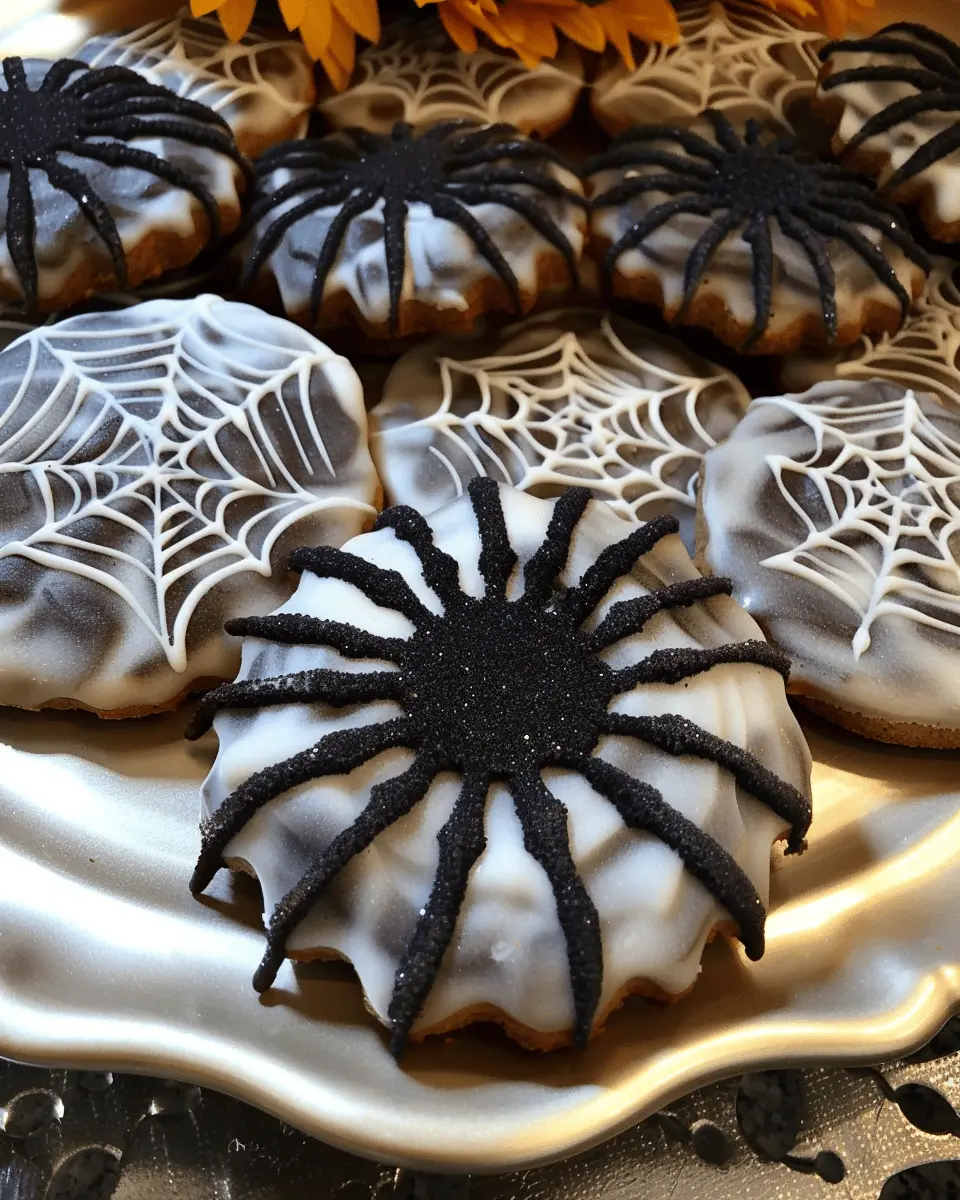
When Halloween rolls around, the excitement isn’t just for costumes and spooky decorations—it’s also about the treats! There’s something magical about homemade cookies being handed out during this festive season. Glazed chocolate spider cookies, in particular, are a fun and creative way to bring a little extra charm to your Halloween celebrations. But why should you opt for homemade rather than store-bought? Let’s explore!
Why Homemade Cookies Are the Best Choice for Halloween Treats?
-
Personal Touch: Homemade cookies allow you to infuse your personality and creativity into every batch. With glazed chocolate spider cookies, you can customize your unique spider designs and flavors, making them memorable for friends and family. Plus, the joy of crafting the perfect treat can be a rewarding experience.
-
Freshness Guaranteed: There’s nothing quite like biting into a freshly baked cookie. You can savor the rich, gooey chocolate and the delightful texture that store-bought options simply can’t match. According to research from the American Institute for Cancer Research, fresh ingredients tend to retain more nutrients, so your homemade treats are not only tastier but also healthier!
-
No Preservatives: Many commercial cookies contain preservatives to prolong shelf life. When you bake at home, you have full control over ingredients. You can choose to use less sugar or healthier fats without sacrificing flavor! Sites like Food Network and BBC Good Food often share tips on healthier baking methods.
-
Family Fun: Baking together can be a delightful family activity! Involve your loved ones in the process—mixing, rolling, and decorating cookies can create lasting bonds. Think of it as an opportunity to share stories and laughs while making something special.
So, why not take the plunge and whip up a batch of glazed chocolate spider cookies this Halloween? Not only will they taste amazing, but they’ll also add a touch of warmth and personal connection to your holiday spirit. Dive into this spooky recipe, and let your creativity flow!
Ingredients for Glazed Chocolate Spider Cookies
Essential ingredients for the cookie dough
When you dive into making glazed chocolate spider cookies, you’ll want to gather some key ingredients that create the perfect dough. Here’s what you’ll need:
- Flour: All-purpose flour works wonders for structure.
- Cocoa Powder: Choose unsweetened cocoa powder to give a rich chocolate flavor.
- Baking Powder and Baking Soda: These leavening agents help your cookies puff up just right.
- Sugar: A mix of granulated and brown sugar will add sweetness and moisture.
- Eggs: Fresh eggs bind everything together while providing richness.
- Butter: Softened unsalted butter is essential for that delightful cookie texture.
- Vanilla Extract: A splash pulls all the flavors together brilliantly.
What could be better than the smell of chocolate cookies baking?
Ingredients for the glossy glaze
To finish off your cookies with a delightful touch, you’ll want a glaze that oozes shiny goodness. Here’s what you will need:
- Powdered Sugar: The star ingredient for that sweet glaze.
- Milk or a Milk Alternative: This will help you achieve that smooth, drizzling consistency.
- Vanilla Extract: A hint adds a lovely flavor to the glaze.
With these ingredients ready, your glazed chocolate spider cookies will not just look impressive but taste absolutely divine! For a guide on perfecting your cookie baking technique, check out this helpful resource. Happy baking!
Preparing Glazed Chocolate Spider Cookies
Baking is one of those delightful ways to unwind after a busy day, and what better way to indulge than by making some glazed chocolate spider cookies? These treats not only taste heavenly but also look charming enough to brighten up any gathering. Here’s a friendly guide to creating these delicious cookies from scratch, perfect for sharing with friends or enjoying with a well-deserved cup of coffee.
Cream the Butter and Sugar
Start your cookie adventure by creaming together soft butter and sugar. Using room-temperature butter is crucial for achieving that fluffy texture, so don’t skip this step! Here’s how you can do it:
-
Ingredients: 1 cup of softened butter, 1 cup of granulated sugar. You can also use brown sugar for a richer flavor.
-
Process: In a mixing bowl, combine the butter and sugar. Use either a hand mixer or stand mixer on medium-speed. Beat until the mixture is light and fluffy, usually about 3-5 minutes.
This step plays an essential role in your cookies’ texture, as the air incorporated during this process will make them tender and well-risen.
Combine Dry Ingredients
Next, let’s bring the dry ingredients into the mix. This step is vital for creating that perfect cookie base:
-
Ingredients: 2 cups all-purpose flour, ½ cup unsweetened cocoa powder, 1 teaspoon baking soda, and ½ teaspoon salt.
-
Process: In a separate bowl, whisk together these dry ingredients until they are well combined. A tip here is to sift the cocoa powder to avoid any lumps. Everything is better when it’s smooth, right?
Combining your dry ingredients this way ensures that each cookie will have that consistent chocolate flavor throughout. Plus, it’s a great time to think about how you’re going to decorate your glazed chocolate spider cookies later!
Form the Dough and Chill
Now that your wet and dry ingredients are ready, it’s time to form the dough.
- Process: Gradually add the dry mixture to the creamed butter and sugar until fully incorporated. Don’t forget to scrape down the sides of the bowl to make sure everything is combined.
Once your dough is fully mixed, shape it into a ball, wrap it in plastic wrap, and refrigerate for at least 30 minutes. Chilling the dough is essential, as it helps maintain the shape of your cookies while baking, and it enhances the flavors, too! Trust me, the wait is worth it.
Roll and Cut the Cookies
After chilling, take your dough out of the fridge and let it sit for about 10 minutes to soften slightly.
- Process: On a lightly floured surface, roll out the dough to about ¼-inch thick. Use cookie cutters to create fun shapes—think spiders or other spooky forms if you’re feeling festive.
Make sure to keep some flour handy to dust your rolling pin and counter. This will prevent the dough from sticking, and help ensure your cookies have a nice, even shape.
Bake to Perfection
Finally, let’s bring these cookies to life!
-
Process: Place your cut-out cookies on a parchment-lined baking sheet, ensuring they are spaced a bit apart to allow for spreading.
-
Baking: Preheat your oven to 350°F (175°C). Bake your cookies for about 8-10 minutes or until the edges are set but the centers will still be a bit soft. They will continue to firm up once you take them out of the oven.
Allow your cookies to cool on a wire rack before glazing them. Looking for a killer glaze recipe? Consider tone it down with a delicious icing made from powdered sugar and milk, and add some chocolate drizzle for that wow factor!
By the time you’re done, you’ll have a batch of glazed chocolate spider cookies that are as delightful to look at as they are to eat. Whether you’re sharing them at a gathering or keeping them for yourself (no judgment here), these cookies are sure to impress!
Variations on Glazed Chocolate Spider Cookies
When it comes to glazed chocolate spider cookies, there are endless possibilities to explore! These variations not only cater to different tastes but also dietary preferences, making them a hit for any gathering or cozy night in. Let’s dive into some delectable options that will keep your cookie jar full and your friends raving.
Chocolate Pumpkin Spider Cookies
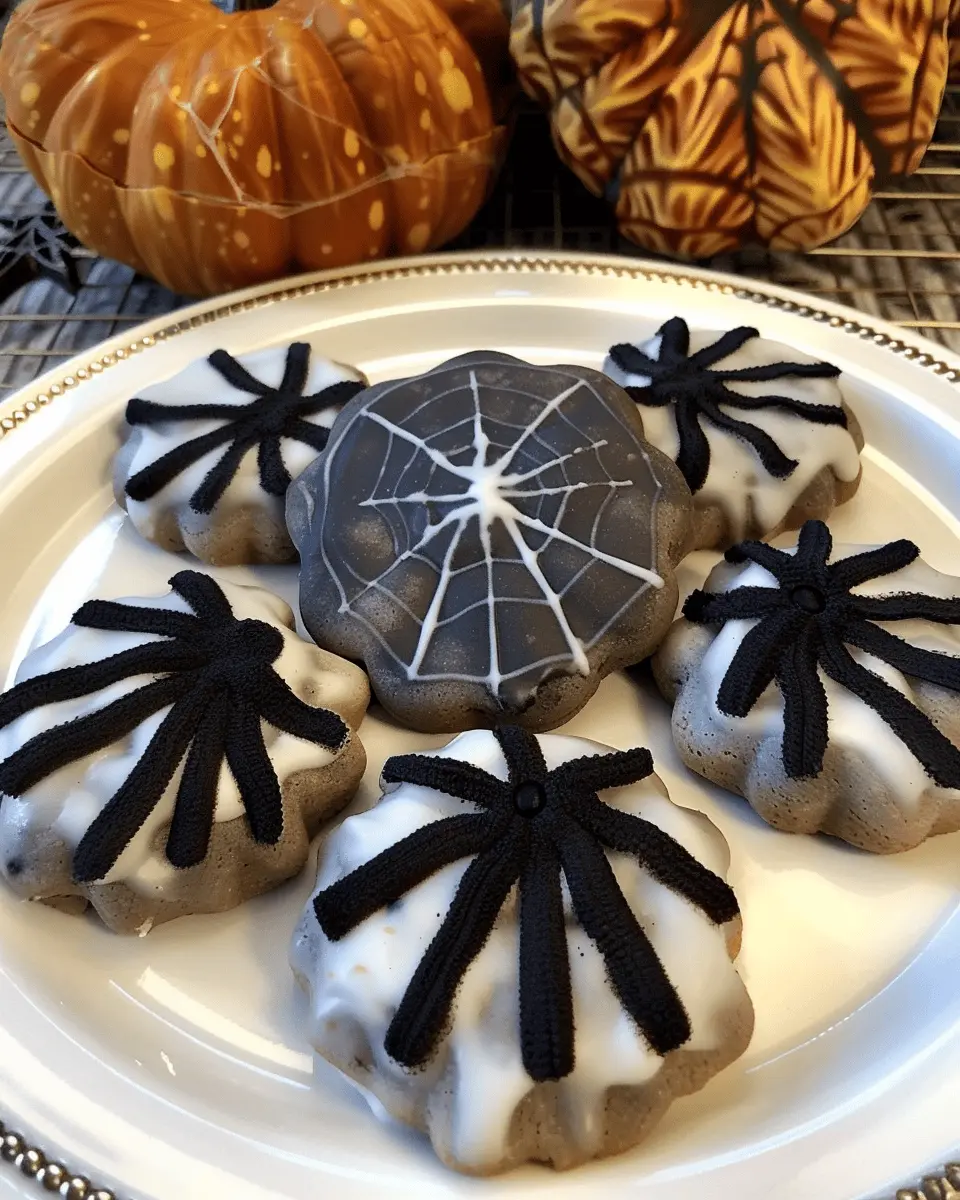
If you’re in the mood for fall flavors, try adding some pumpkin to your glazed chocolate spider cookies. Simply replace a portion of the butter with pumpkin puree—about 1/2 cup should do the trick. This substitution will not only add a lovely autumnal flavor but also keep the cookies moist. Don’t forget to spice things up with a blend of cinnamon, nutmeg, and ginger. These cookies are perfect for Halloween parties and Thanksgiving gatherings, bringing a twist to the classic chocolate goodness.
Gluten-Free Spider Cookies
For those on a gluten-free diet, you can easily adapt your traditional glazed chocolate spider cookies recipe. Swap out regular flour for a gluten-free blend, like almond or coconut flour, which adds a nutty flavor and a fantastic texture. Just be mindful of the baking powder—some gluten-free flours require a different leavening agent. Adding a pinch of salt enhances the flavors beautifully. With these simple adjustments, everyone can enjoy these delightful treats without worry!
Experimenting with variations allows you to personalize these cookies while catering to the preferences of family and friends. Don’t hesitate to mix up ingredients and adjust sweetness levels based on your taste. You can even share your unique spin online! Who’s ready to bake?
Baking notes for Glazed Chocolate Spider Cookies
Tips for achieving the perfect texture
When making glazed chocolate spider cookies, texture is crucial for that inviting chewiness. Here are some tips to ensure success:
- Room Temperature Ingredients: Use eggs and butter at room temperature. This helps create a uniform dough that bakes evenly.
- Don’t Overmix: After adding the flour, mix just until combined. Overmixing can lead to tough cookies.
- Chill the Dough: If time allows, chill the dough for about 30 minutes. This helps the flavors meld and prevents spreading during baking.
Common mistakes to avoid while baking
Baking is as much about technique as it is about ingredients. Watch out for these pitfalls:
- Skipping the Parchment Paper: Always line your baking sheet for easy removal. Trust me, you don’t want your cookies stuck!
- Not Measuring Flour Properly: Too much flour can dry out your glazed chocolate spider cookies. Use the spoon-and-level method for accuracy.
- Ignoring the Cool Down: Let your cookies cool on the baking sheet for a few minutes before transferring them. This helps them set properly.
For a deeper dive into baking science, check out King Arthur Baking for some expert advice!
Serving suggestions for Glazed Chocolate Spider Cookies
Creative ways to present your spooky treats
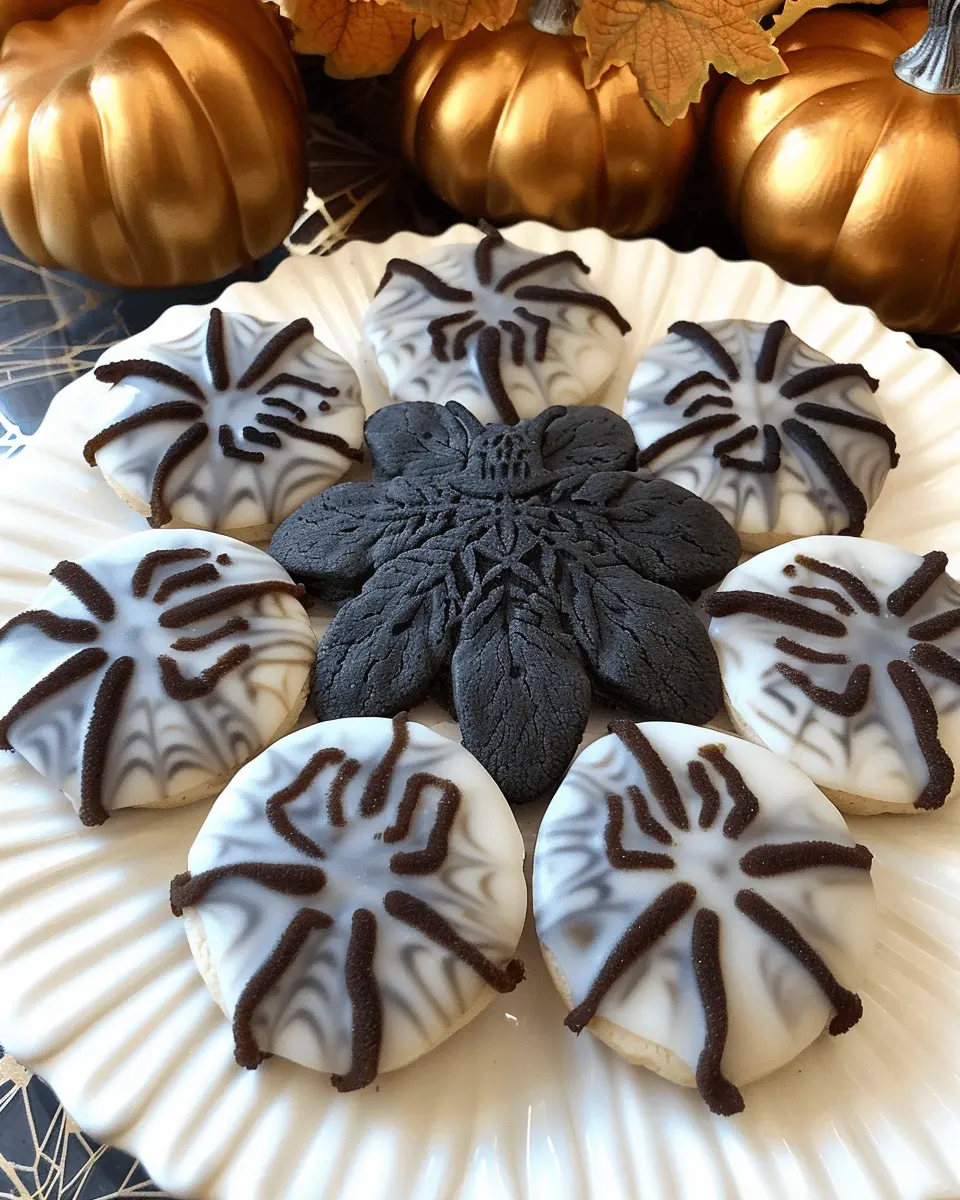
When it comes to serving your glazed chocolate spider cookies, let your creativity shine! Place these delightful cookies on a rustic wooden platter or a Halloween-themed cake stand. For a fun twist, arrange them in the shape of a spiderweb using chocolate syrup, or sprinkle powdered sugar to represent a dusting of spooky “snow.” You can also create individual treat bags, tying them with orange or black ribbons for a festive feel.
Pairing ideas for cookies and beverages
To elevate your cookie experience, consider pairing your glazed chocolate spider cookies with complementary beverages. A rich hot chocolate topped with whipped cream makes a cozy match for chilly nights. If you’re in the mood for something cooler, a pumpkin spice latte or spiced apple cider can enhance the fall flavors beautifully.
For a refreshing non-caffeinated option, why not serve with a lovely chai tea? The warmth and spice of chai beautifully complement the indulgent chocolate.
For more serving ideas, check out Food & Wine for creative cookie-inspired pairings.
Tips for Making Perfect Glazed Chocolate Spider Cookies
Ingredient Substitutions You Can Consider
Creating your perfect glazed chocolate spider cookies can be a fun experiment in the kitchen. Don’t have all the ingredients? No problem! Here are some easy substitutions:
- Flour: If you’re out of all-purpose flour, try using whole wheat or a gluten-free blend. Both can add their own texture and flavor.
- Sugars: You can mix brown sugar with coconut sugar for a delicious twist. This combo will deliver a delightful caramel note.
- Butter: If you’re vegan or dairy-free, coconut oil or vegan butter can work just as well in ensuring that rich taste.
- Chocolate: Swap out semi-sweet chocolate with dark chocolate for a more intense flavor, or even use white chocolate for a different take!
How to Store Cookies Properly
Maintaining the freshness of your glazed chocolate spider cookies is essential. Here’s how to do it right:
- Cooling: Allow your cookies to cool completely before storage to prevent softening.
- Airtight Containers: Keep them in an airtight container to reduce moisture.
- Room Temperature: Store them at room temperature for up to a week. If you’re looking to keep them longer, consider freezing them.
- Layering: If stacking cookies, place parchment paper between layers to avoid sticking.
If you want to learn more about cookie preservation, check out resources from the Food Network.
With these tips in hand, you’re not just baking cookies; you’re creating an experience that friends and family will love! So, what ingredient will you experiment with first?
Time details for Glazed Chocolate Spider Cookies
When you’re ready to whip up a batch of glazed chocolate spider cookies, knowing the time commitments can help you plan perfectly. Here are some useful details to keep in mind:
Preparation time
Getting down to business in the kitchen will take you about 20 minutes. This is your chance to gather all those delicious ingredients and mix them to perfection. Don’t forget to set out your baking sheets and preheat the oven!
Baking time
After you’ve shaped those delightful cookie balls, pop them in the oven for about 12 to 14 minutes. Keep an eye on them; the immediate aroma will have everyone scurrying into the kitchen!
Total time
In total, you’re looking at around 35 to 40 minutes from start to finish. Perfect for a quick sweet treat when you’re entertaining guests or simply want some comfort food.
These cookies are a charming addition to any dessert spread and are bound to impress. For tips on achieving the ideal cookie texture, check out sources like Serious Eats or America’s Test Kitchen. Enjoy the baking journey!
Nutritional information for Glazed Chocolate Spider Cookies
When baking glazed chocolate spider cookies, it’s important to be mindful of their nutrition, especially if you’re indulging in these treats frequently.
Calories per cookie
Each delicious cookie contains approximately 150 calories. This makes them a satisfying snack without being overly indulgent.
Breakdown of key nutrients
Here’s a closer look at what you get with each cookie:
- Total Fat: 7g (includes healthy fats)
- Carbohydrates: 20g (providing energy)
- Sugars: 10g (for that sweet touch)
- Protein: 2g (a bit of sustenance)
Balancing these cookies with lighter meals throughout your day can help maintain your energy levels. Remember, everything in moderation! If you’re looking for more nutrition tips, you might find the USDA’s FoodData Central beneficial. Enjoy your baking!
FAQs about Glazed Chocolate Spider Cookies
How do I make the glaze thicker or thinner?
Adjusting the consistency of your glaze for glazed chocolate spider cookies is quite simple! To thicken it, add a bit more powdered sugar. This will give you a nice, luxurious texture that holds its shape. If you find your glaze to be too thick, sprinkle in a few drops of water or milk at a time until you reach your desired consistency. Remember, a thicker glaze is perfect for a shiny finish, while a thinner one will create a more drippy effect that can be fun for decoration.
Can I freeze glazed cookies?
Absolutely! Freezing glazed chocolate spider cookies can be a great way to preserve their tasty goodness. Just be sure to let the cookies completely cool and the glaze set before freezing. For best results, layer them between sheets of parchment paper in an airtight container. You can store them in the freezer for up to three months. When you’re ready to snack on them, simply thaw at room temperature for the best taste and texture.
What’s the best way to clean cookie cutters after use?
Cleaning cookie cutters doesn’t have to be a chore! After making your cute glazed chocolate spider cookies, soak the cutters in warm, soapy water. A gentle scrub with a soft brush or sponge will remove any leftover dough. If you’re dealing with intricate designs, a toothpick can help dislodge stubborn bits. Rinsing and drying immediately will help prevent any rust, especially for metal cutters.
For more tips on cookie making and decorating, consider checking out resources like King Arthur Baking or The Cookie Dough Diaries for baking inspiration!
Conclusion on Glazed Chocolate Spider Cookies
Baking is more than just a pastime; it’s a delightful way to bring joy to yourself and those around you. These glazed chocolate spider cookies are the perfect treat for celebrating Halloween or simply indulging your sweet tooth. When you pull these spooky cookies from the oven, the aroma will fill your kitchen, creating an inviting atmosphere full of warmth and creativity.
Sharing these cookies with friends and family can turn a simple gathering into a festive occasion. So don your apron, embrace the mess, and let your imagination run wild—every bite is a reminder that delicious moments are made in the kitchen. For more baking inspiration, check out sites like The Kitchn or Serious Eats. Happy baking!
PrintGlazed Chocolate Spider Cookies: The Best Treat for Halloween Fun
Delicious and spooky glazed chocolate spider cookies perfect for Halloween festivities!
- Prep Time: 15 minutes
- Cook Time: 12 minutes
- Total Time: 27 minutes
- Yield: 24 cookies 1x
- Category: Dessert
- Method: Baking
- Cuisine: American
- Diet: Vegetarian
Ingredients
- 1 cup all-purpose flour
- 1/2 cup cocoa powder
- 1/2 teaspoon baking soda
- 1/4 teaspoon salt
- 1/2 cup unsalted butter, softened
- 1 cup granulated sugar
- 1 large egg
- 1 teaspoon vanilla extract
- 1 cup chocolate chips
- 1 cup icing sugar
- 2 tablespoons milk
Instructions
- Preheat the oven to 350°F (175°C).
- In a bowl, mix flour, cocoa powder, baking soda, and salt.
- In another bowl, cream together butter and sugar until light and fluffy.
- Add the egg and vanilla to the butter mixture and beat well.
- Gradually add the dry mixture to the wet mixture until combined.
- Fold in the chocolate chips.
- Drop spoonfuls of cookie dough onto a baking sheet.
- Bake for 10-12 minutes. Allow to cool.
- In a separate bowl, mix icing sugar and milk to create a glaze.
- Drizzle the glaze over the cooled cookies.
Notes
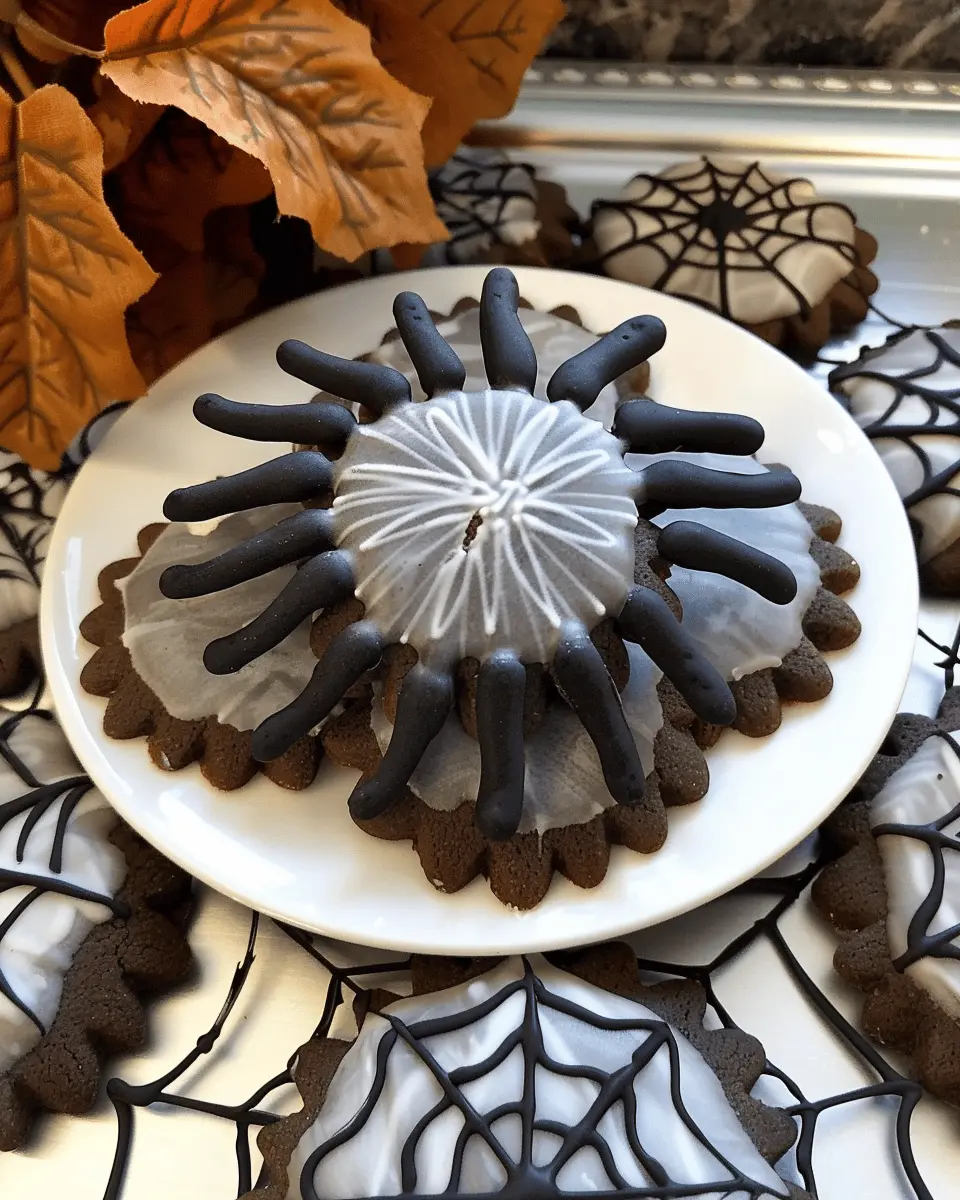
- For extra decoration, use melted chocolate to create spider legs on top of the glaze.
- Store cookies in an airtight container to maintain freshness.
Nutrition
- Serving Size: 1 cookie
- Calories: 120
- Sugar: 10g
- Sodium: 50mg
- Fat: 5g
- Saturated Fat: 3g
- Unsaturated Fat: 2g
- Trans Fat: 0g
- Carbohydrates: 16g
- Fiber: 1g
- Protein: 2g
- Cholesterol: 15mg
Keywords: Glazed Chocolate Spider Cookies, Halloween cookies, chocolate cookies