Outline for Easy Homemade Bread Recipe
When it comes to home cooking, there’s something incredibly comforting and rewarding about making your own bread. With just a few simple ingredients, you can whip up a delightful loaf that fills your kitchen with an irresistible aroma. In this guide, we’ll explore an easy homemade bread recipe that’s perfect for beginners and seasoned bakers alike.
Understanding the Basics of Bread Making
Before diving into our easy homemade bread recipe, let’s take a moment to understand the fundamentals of bread-making.
- Ingredients: At its core, bread requires just a few essential ingredients: flour, water, yeast, and salt. Each component plays a vital role in the final product. Flour provides structure, water activates the yeast, and salt enhances flavor.
- Yeast: This tiny microorganism is crucial for fermentation—a process that turns sugars in the flour into carbon dioxide, causing the dough to rise. You can choose between active dry yeast and instant yeast, depending on what you have on hand.
- Kneading: Kneading helps develop gluten, giving the bread its chewy texture. You don’t need a fancy mixer; your hands will do just fine!
- Proofing: This is when the dough rises and expands, which is essential for achieving that fluffy texture.
For more detailed insights, check out credible resources like the King Arthur Baking Company’s guide to bread, which offers great tips for new bakers.
The Ingredients for Your Easy Homemade Bread Recipe
Here’s what you’ll need for your easy homemade bread recipe, all of which you might already have in your pantry:
- 4 cups of all-purpose flour: This will be the base for your bread. You can experiment with different flours later for added flavor.
- 2 teaspoons of instant yeast: Instant yeast is a great choice for beginners as it doesn’t require proofing.
- 1 tablespoon of salt: Salt not only flavors the bread but also strengthens the gluten structure.
- 1 and ½ cups of warm water: Ensure the water is warm (about 110°F), as this helps activate the yeast.
- 1 tablespoon of sugar (optional): Sugar can enhance flavor and provide food for the yeast, leading to a better rise.
Step-by-Step Instructions for Your Easy Homemade Bread Recipe
Now, let’s dive into the preparation. Here’s how to create your delicious homemade bread in a few straightforward steps:
-
Mix the Dry Ingredients: In a large bowl, combine the flour, yeast, and salt. Mixing these first ensures even distribution of the yeast and salt.
-
Add the Warm Water: Gradually pour in the warm water and mix until a shaggy dough forms. You can use a wooden spoon or your hands for this step.
-
Knead the Dough: Transfer the dough to a floured surface and knead for about 8-10 minutes, or until it’s smooth and elastic. If the dough is too sticky, sprinkle a little more flour as needed.
-
First Rise: Place the kneaded dough in a lightly greased bowl, cover it with a clean kitchen towel, and let it rise in a warm area until it doubles in size (about 1-2 hours). This is the first proofing stage.
-
Shape the Dough: Once risen, gently punch down the dough to release the air. Turn it out onto a floured surface, shape it into a loaf, and put it in a greased loaf pan.
-
Second Rise: Cover the shaped loaf with the kitchen towel and let it rise again until it doubles in size (about 30-60 minutes).
-
Bake: Preheat your oven to 375°F (190°C). Bake for 25-30 minutes or until the top is golden brown and the bread sounds hollow when tapped.
-
Cool Down: Once out of the oven, allow the bread to cool in the pan for a few minutes before transferring it to a wire rack. This step is crucial—let it cool completely before slicing to maintain its texture.
Tips for Perfecting Your Easy Homemade Bread Recipe
While this recipe is straightforward, here are some handy tips to elevate your baking game:
- Experiment with Flavors: Once you’re comfortable with the basic recipe, consider adding herbs, cheese, or even nuts for extra flavor.
- Don’t Rush the Rises: Giving your dough ample time to rise is critical for creating a light and fluffy texture. Patience pays off!
- Store Properly: To keep your bread fresh, store it in a paper bag or bread box. Avoid plastic, which can make the crust soggy.
Troubleshooting Common Problems
Even the most seasoned bakers face hiccups sometimes. Here are some common issues and their solutions:
- Bread Didn’t Rise: This usually suggests that the yeast was inactive. Make sure your yeast is fresh, and that your water wasn’t too hot or too cold.
- Dense Texture: Over-kneading can lead to a dense loaf. Keep kneading just until the dough is smooth and elastic.
- Crust Too Hard: To soften the crust, trickle a bit of melted butter on top right after it comes out of the oven.
How to Enjoy Your Easy Homemade Bread
What do you do with that beautiful loaf once it’s baked? Here are some ideas:
- Sandwiches: Use your bread for delicious turkey bacon or chicken ham sandwiches.
- Toast: Perfect for spreading with butter, jam, or avocado.
- French Toast: A great option for breakfast or brunch, just soak thick slices in a mixture of eggs and milk, then cook on a hot skillet.
Health Benefits of Homemade Bread
Making your own bread isn’t just about taste; it’s also about health. Many store-bought breads contain preservatives and additives. When you make bread at home, you control every ingredient. You can even choose healthier alternatives, such as whole wheat flour, to increase fiber content.
A study published in the Journal of Agricultural and Food Chemistry found that homemade bread can have a significantly lower glycemic index than commercially produced options, making it a healthier choice for many. This is especially important for young professionals looking to maintain a balanced diet.
Final Thoughts on Your Easy Homemade Bread Recipe
Creating bread at home can be both rewarding and enjoyable. With this easy homemade bread recipe, you not only have a delicious product to show off but also a newfound skill that can elevate your cooking game. So why not gather your ingredients and bake a loaf today? You may find that the simple act of baking brings a joy and satisfaction unmatched by any store-bought bread!
For further inspiration and ideas, check out Food52’s bread recipes, where you can explore different styles and flavors of bread that suit your personal taste.
Happy baking!

Introduction to Easy Homemade Bread
Why Homemade Bread is Worth the Effort
Have you ever walked into a bakery and been overwhelmed by the warm, inviting scent of freshly baked bread? There’s something inherently comforting about homemade bread that store-bought options just can’t replicate. When you take the time to make your own, you gain control over the ingredients, ensuring fresher and healthier bread tailored to your taste preferences. Plus, the satisfaction of pulling that gorgeous loaf from the oven? Totally unbeatable!
For those looking to impress guests or simply enjoy a cozy evening at home, an easy homemade bread recipe can be your secret weapon. It’s not just about the bread; it’s about the experience! Kneading the dough can be therapeutic, and the process allows you to connect with the food you eat on a much deeper level.
Many experts argue that baking bread can be a gateway to learning other culinary skills as well. According to a study from the American Culinary Federation, mastering basic bread recipes enhances overall cooking confidence. And let’s be real—there’s nothing quite like sharing homemade bread with loved ones; it’s a simple pleasure that brings people together.
Personal Story: My First Experience with Baking Bread
I’ll never forget my first attempt at baking bread. It was a chilly Sunday afternoon, and I was feeling adventurous. Armed with an easy homemade bread recipe I found online and an old mixing bowl that had seen better days, I got to work.
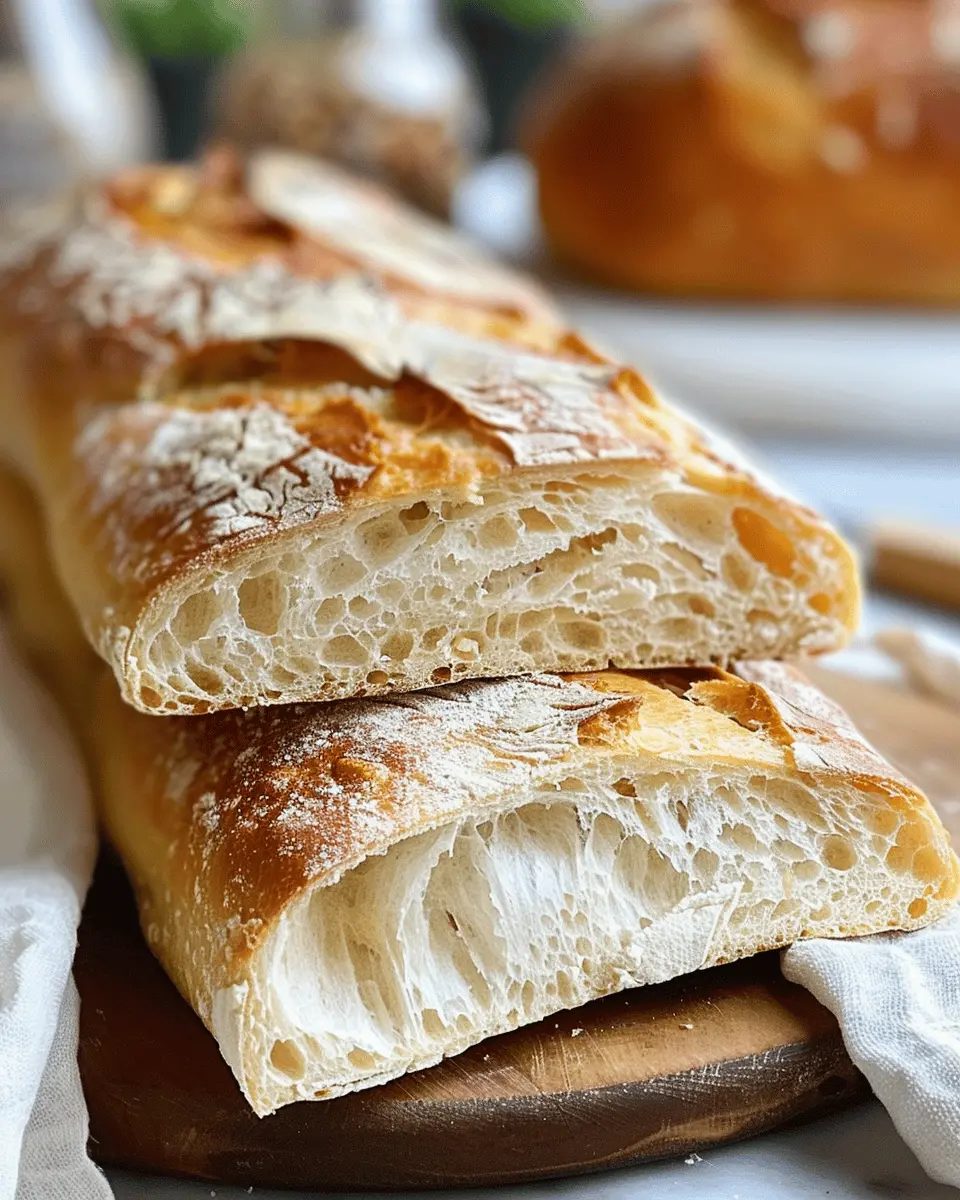
As I mixed and kneaded, I felt a sense of accomplishment building in me. When I finally pulled that golden-brown loaf out of the oven, the aroma filled the entire house. I sliced into it, and the crust crackled invitingly. The taste? Well, it was nothing short of magical. I slathered a slice with butter, and just like that, I was hooked on baking.
If you’ve never tried, I genuinely encourage you to set aside a few hours this weekend for some baking. You might just find a new hobby that resonates with you. For more tips on getting started, check out this article on baking fundamentals. Who knows? Your kitchen could soon be filled with the delightful smell of homemade bread!
Ingredients for Easy Homemade Bread
Essential ingredients list
When embarking on your journey to make the perfect easy homemade bread, it’s crucial to gather a few key ingredients. Here’s what you’ll need:
- All-purpose flour: This is the backbone of your bread and contributes to its structure.
- Active dry yeast: This ingredient will help your bread rise beautifully.
- Warm water: Activate the yeast with warm water to kickstart fermentation.
- Sugar: A dash of sugar will feed the yeast and add a hint of sweetness.
- Salt: Essential for flavor, salt also helps strengthen the dough.
- Olive oil or melted butter: This adds richness and improves the bread’s texture.
Importance of ingredient quality
Quality matters—especially when it comes to baking! Using high-quality flour can make a noticeable difference in your bread’s texture and flavor. According to experts from the King Arthur Baking Company, selecting the right flour can elevate your homemade creations significantly. Similarly, fresh yeast is a must to ensure proper rising. In essence, investing in quality ingredients leads to better tasting results and a more rewarding baking experience.
If you’re keen to dive deeper into ingredient significance, check out the Baker’s Handbook for expert advice!
Preparing Easy Homemade Bread
Making your own bread might seem daunting, but with this easy homemade bread recipe, you’ll be surprised at how straightforward the process can be! Let’s walk through this together, step by step.
Gather Your Ingredients and Tools
Before diving into the mixing and kneading, gather everything you need. Here’s a simple list:
-
Ingredients:
-
4 cups all-purpose flour
-
2 teaspoons salt
-
1 packet (or 2 ¼ teaspoons) instant yeast
-
1 ½ cups warm water (about 110°F)
-
1 tablespoon sugar (optional for a touch of sweetness)
-
Tools:
-
Mixing bowl
-
Wooden spoon or dough whisk
-
Clean surface for kneading
-
Baking sheet or loaf pan
-
Kitchen towel or plastic wrap
-
Oven
Having everything in one place makes the process smoother and keeps you organized. Plus, it’s less stressful!
Mixing the Dry Ingredients
Start by mixing the dry ingredients in a large bowl. Combine the flour, salt, and instant yeast. Whisk them together until evenly blended. This is an essential step since it ensures that the yeast is distributed correctly throughout the flour and allows for consistent rising.
Adding the Wet Ingredients
Next, create a little well in the center of the dry mix and pour in the warm water and sugar (if using). The warmth of the water helps activate the yeast, which is why it’s important to keep an eye on the temperature. Stir with a wooden spoon until a shaggy dough forms. It’s perfectly fine if it’s a bit sticky.
Kneading the Dough
Now comes the fun part: kneading! Transfer the dough onto a lightly floured surface. Knead the dough for about 8–10 minutes until it’s smooth and elastic. Don’t be afraid to get your hands a little messy! Kneading develops gluten, giving your bread that lovely structure. A good test? The dough should spring back when you poke it lightly.
First Rise: Letting It Double in Size
Place the kneaded dough into a lightly oiled bowl, cover it with a kitchen towel or plastic wrap, and set it in a warm spot. This stage, known as the first rise, usually takes about 1–1.5 hours. You’ll know it’s ready when it has doubled in size. Patience is key here—don’t rush it!
Shaping the Dough for Baking
Once your dough has risen, punch it down gently to release any air. Turn it out onto a floured surface, and shape it into a loaf or divide it into smaller pieces for rolls. Don’t worry about perfection; a rustic shape can be just as appealing.
Second Rise: A Final Proofing
After shaping, place your dough on a baking sheet or into a loaf pan. Cover it again and let it rise for another 30–45 minutes. This second rise will help achieve a lovely, airy texture.
Baking in the Oven
While the dough is rising, preheat your oven to 375°F. Once your dough has puffed up beautifully, it’s time to bake! Place it in the oven and let it bake for about 25-30 minutes, or until golden brown. The aroma that fills your kitchen will make your mouth water!
Cooling the Bread
Finally, when the bread is baked, remove it from the oven and transfer it to a wire rack. Allow it to cool for at least 15-20 minutes before slicing. This helps the bread set, keeping it from becoming gummy.
Now you’re ready to enjoy your homemade bread! Pair it with some butter, or use it as a delicious base for turkey bacon sandwiches. Making your own bread opens up a world of flavors; trust me, once you go homemade, you won’t want to go back! For more tips on enhancing your bread-making skills, check out this guide from King Arthur Baking.
Variations on Easy Homemade Bread
Homemade bread is a canvas for creativity. It’s fantastic in its simplest form, but why not spice things up? Here are some playful variations on your easy homemade bread recipe to elevate your baking game.
Herb-infused Bread Creations
Imagine the aroma of freshly baked bread mingling with the essence of herbs. For a delightful twist, incorporate herbs like rosemary, thyme, or basil into your dough. Not only do they enhance flavor, but they also offer beautiful flecks of green throughout your loaf. Simply add a tablespoon of your favorite dried herbs during the mixing phase for an aromatic experience. You can even create a savory garlic bread by incorporating minced garlic and chopped parsley. It’s perfect to pair with a hearty soup or to enjoy with olive oil for dipping!
Cheese and Nut Variations
Who doesn’t love the combination of cheese and nuts? Stir in shredded cheese such as cheddar or gouda for a rich, savory flavor. You can also add a handful of toasted walnuts or pecans for crunch. By using a mix of these ingredients, you create an irresistible blend of textures and tastes that will have you reaching for slice after slice. Plus, it’s an easy way to impress friends at your next potluck!
Gluten-free Alternatives
For those who need to steer clear of gluten, don’t fret! There are countless gluten-free flour options available, like almond or coconut flour. Just ensure you’re also using a gluten-free yeast product! You might want to check out resources like the Gluten Intolerance Group for tips and recipes that cater to gluten-free baking. Remember, while texture may vary, the homemade charm remains intact!
So, ready to mix it up? These variations not only add a fun twist to your easy homemade bread recipe but also cater to different taste preferences and dietary needs. Give them a try and watch your baking skills soar!
Cooking Tips and Notes for Easy Homemade Bread
Importance of fresh yeast
When embarking on your easy homemade bread recipe, using fresh yeast is vital. Fresh yeast enhances the flavor and texture of your bread, producing a light, airy loaf. To ensure freshness, check the expiration date and choose yeast that has been stored properly, ideally in a cool, dry place. Remember, freshness translates to better rising—something you definitely want for that perfect loaf!
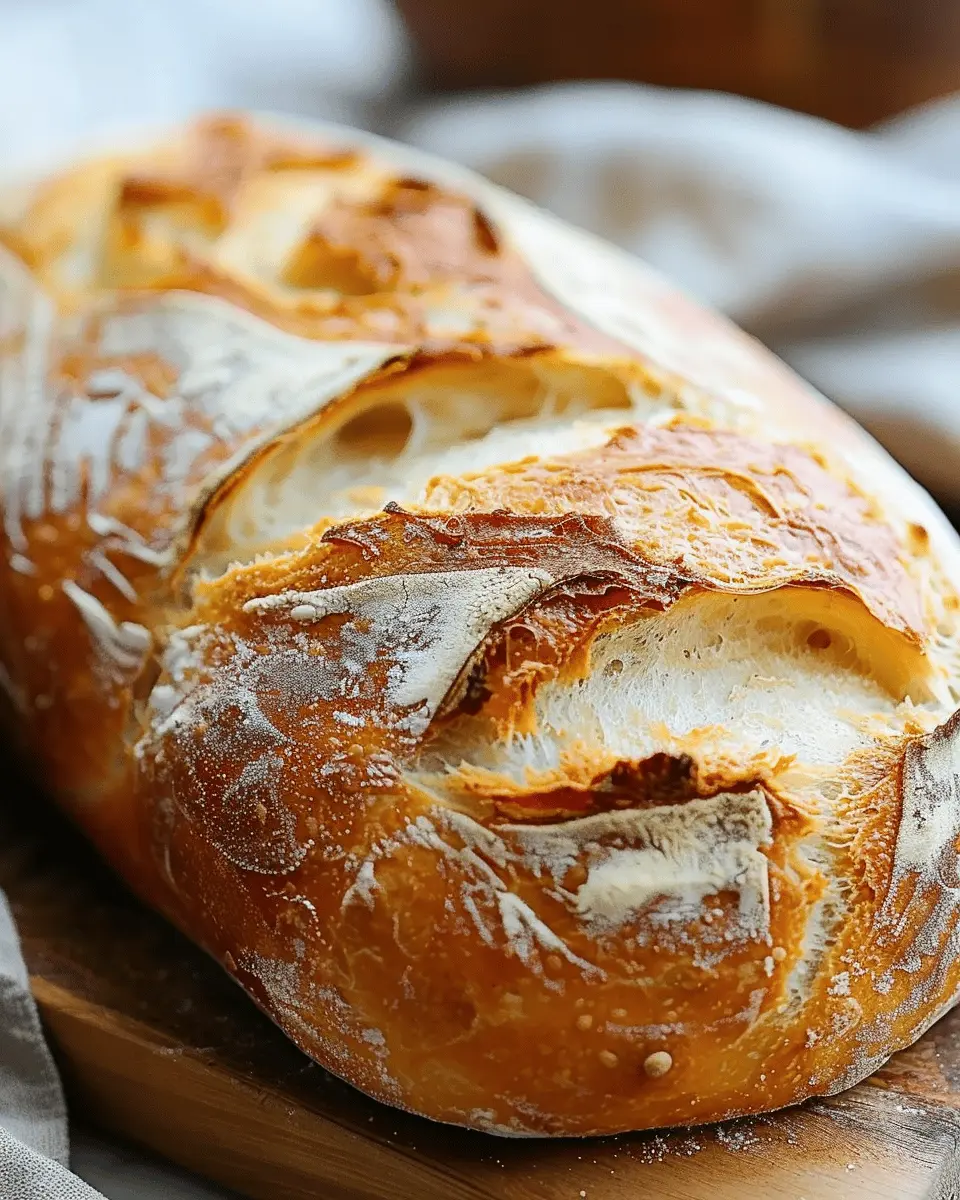
How to achieve the perfect crust
Want that crusty exterior that makes bread irresistible? Here are some tips to achieve it:
- Steam is your friend: Place a pan of hot water in the oven during baking. This creates steam, helping the crust develop beautifully.
- Preheat thoroughly: Ensure your oven is fully preheated before you put the bread in. A hot oven equals a better crust.
- Experiment with baking times: Different ovens vary, so keep an eye on your bread and adjust the timing as needed.
Tips for kneading effectively
Kneading can seem intimidating, but a bit of practice makes it easy! Here’s how to master it:
- Use your body weight: Push the dough down and away with the heel of your hand, then fold it back. This technique strengthens gluten, giving your bread structure.
- Feel the dough: It should be smooth and elastic when ready, taking about 10 minutes of kneading. Remember, over-kneading can lead to tough bread, so be gentle.
- Take breaks: If you’re tired, take short breaks to avoid fatigue. This keeps your kneading effective and enjoyable.
These tips will ensure your next loaf, inspired by the easy homemade bread recipe, is baked to perfection! For more in-depth techniques, check out this bread baking tutorial for expert insights.
Serving Suggestions for Easy Homemade Bread
Enjoying with butter, jams, and spreads
Start your day the right way by slathering warm slices of your easy homemade bread with creamy butter or your favorite fruit jam. The soft, fluffy texture pairs perfectly with a hint of sweetness or a savory spread. Consider trying specialty butter—like herbed or honey butter—to elevate your toast. If you’re feeling adventurous, explore unique jam flavors like lavender or fig for an unexpected twist.
Savory options: sandwiches and toasts
Transform your bread into the ultimate sandwich base. Think of layering turkey bacon, fresh veggies, and a spread of avocado or hummus for a satisfying lunch. Alternatively, use your homemade loaf for open-faced toast topped with chicken ham, greens, and a sprinkle of cheese. It’ll not only fill you up but also impress your friends. Check out resources like The Spruce Eats for innovative sandwich ideas that will pair perfectly with your homemade masterpiece.
Creative dishes: croutons and breadcrumbs
Don’t let any leftover bread go to waste! Turn stale slices into crispy croutons by seasoning and toasting them—ideal for elevating soups and salads. Alternatively, blend your stale bread into breadcrumbs for use in your favorite dishes, like meatballs or stuffed peppers. This reduces waste while adding a homemade touch to your meals. Explore tutorials on Fine Cooking for more inventive ways to repurpose your bread!
These simple yet creative serving suggestions will help you enjoy every delightful slice of your easy homemade bread. So, what’s your favorite way to indulge?
Time Breakdown for Easy Homemade Bread
When you’re diving into an easy homemade bread recipe, knowing the time commitment can make all the difference. Here’s a quick breakdown to help you manage your schedule.
Preparation time
Set aside about 15 minutes for mixing your ingredients and kneading the dough. This initial stage is where the magic begins!
Total rising time
Give your bread about 1 to 1.5 hours to rise. During this time, the yeast works its wonders, transforming your dough into a light and airy future loaf.
Baking time
Finally, the baking process will take around 30 minutes. Keep an eye on it; you’ll know it’s done when the crust turns that delightful golden brown.
By planning ahead and understanding these time segments, you can breeze through your easy homemade bread making with joy and success. Want more tips on bread baking? Check out resources like The Kitchn for expert advice!
Nutritional Facts for Easy Homemade Bread
Breakdown of calories per slice
Making your own bread not only fills your home with delightful aromas, but it also allows for control over nutritional content. A typical slice of this easy homemade bread recipe contains about 80-100 calories, depending on the ingredients. Keep in mind that adding toppings or spreads can quickly increase this count!
Key nutrients and their benefits
Homemade bread can be quite nutritious, offering:
- Carbohydrates: Essential for energy, they fuel your daily activities.
- Fiber: Promoting digestive health, fiber can help keep you feeling full longer.
- B Vitamins: Vital for energy production, these nutrients support brain health and metabolism.
For further reading on the benefits of homemade bread, consider checking out Whole Grains Council for deep dives into the nutritional advantages of using whole grains in your baking!
When you opt for an easy homemade bread recipe, you’re not just making a delicious snack; you’re also creating a versatile base that can lead to wholesome meals!
FAQs about Easy Homemade Bread
Can I use whole wheat flour instead of white flour?
Absolutely! Substituting whole wheat flour for white flour in your easy homemade bread recipe can add a nutty flavor and increase the nutritional value. However, keep in mind that whole wheat flour absorbs more liquid, so you might need to adjust the water amount slightly. A good rule of thumb is to start with a 50/50 blend of whole wheat and white flour. This approach will ensure you maintain that light, airy texture that makes homemade bread so delightful.
How do I know if the bread is done baking?
The best way to determine if your bread is done baking is by a couple of simple tests:
- Tap Test: Gently tap the bottom of the loaf; it should sound hollow.
- Temperature Check: A reliable method is measuring the internal temperature with a kitchen thermometer. Your bread should reach around 190°F (88°C).
If you’re looking for more insight on baking techniques, you might want to check out this baking guide.
Can I freeze homemade bread?
Yes, you can absolutely freeze your homemade bread! In fact, if you know you won’t finish it within a few days, it’s a great idea to freeze it. Here’s how to do it:
- Cool Completely: Ensure your bread is completely cool before freezing to prevent ice crystals.
- Wrap: Use plastic wrap, foil, or an airtight container to prevent freezer burn.
- Thawing: When ready to enjoy, let it thaw at room temperature or use a toaster or oven to bring back that fresh-baked taste.
Freezing homemade bread not only preserves its freshness but also offers convenience for quick meals later on. With these tips in mind, you can confidently tackle your easy homemade bread recipe!
Conclusion on Easy Homemade Bread
Summing up the joys of homemade bread
In the kitchen, the aroma of freshly baked bread has a unique ability to transform a space into a warm, inviting haven. Embracing this easy homemade bread recipe not only simplifies the baking process but also opens doors to culinary creativity. With each loaf, you’re crafting not just food, but memories—whether it’s Sunday brunch with loved ones or a cozy weeknight dinner.
Think about how satisfying it feels to slice into your own creation, perhaps sharing it with neighbors or enjoying it alongside your favorite spreads and toppings. So, gather your ingredients, ignite that oven, and embark on a delightful journey of bread-making—your taste buds will thank you! For more tips on baking at home, check out this great resource on homemade bread.
PrintEasy Homemade Bread Recipe: Simple Steps for Fresh, Delicious Loaves

Learn how to make easy homemade bread with simple steps that will yield fresh, delicious loaves every time.
- Prep Time: 20 minutes
- Cook Time: 35 minutes
- Total Time: 2 hours 30 minutes
- Yield: 1 loaf 1x
- Category: Bread
- Method: Baking
- Cuisine: American
- Diet: Vegetarian
Ingredients
- 4 cups all-purpose flour
- 1 tablespoon salt
- 2 cups warm water
- 1 tablespoon sugar
- 2 teaspoons active dry yeast
Instructions
- In a bowl, mix warm water, sugar, and yeast. Let it sit for 10 minutes until foamy.
- Add the salt and flour to the yeast mixture, mixing until a dough forms.
- Knead the dough on a floured surface for about 10 minutes.
- Place the dough in a greased bowl, cover, and let it rise for 1-2 hours until doubled in size.
- Preheat the oven to 375°F (190°C).
- Punch down the dough, shape it into a loaf, and place it in a greased loaf pan.
- Let it rise again for about 30 minutes.
- Bake for 30-35 minutes or until golden brown and sounds hollow when tapped.
- Cool on a wire rack before slicing.
Notes
- For crispier crust, place a pan of water in the oven during baking.
- Experiment with different flours for variations in taste and texture.
Nutrition
- Serving Size: 1 slice
- Calories: 150
- Sugar: 1g
- Sodium: 300mg
- Fat: 1g
- Saturated Fat: 0g
- Unsaturated Fat: 0g
- Trans Fat: 0g
- Carbohydrates: 30g
- Fiber: 1g
- Protein: 4g
- Cholesterol: 0mg
Keywords: easy homemade bread, simple bread recipe, fresh bread