Introduction to Cheesy Garlic Breadsticks
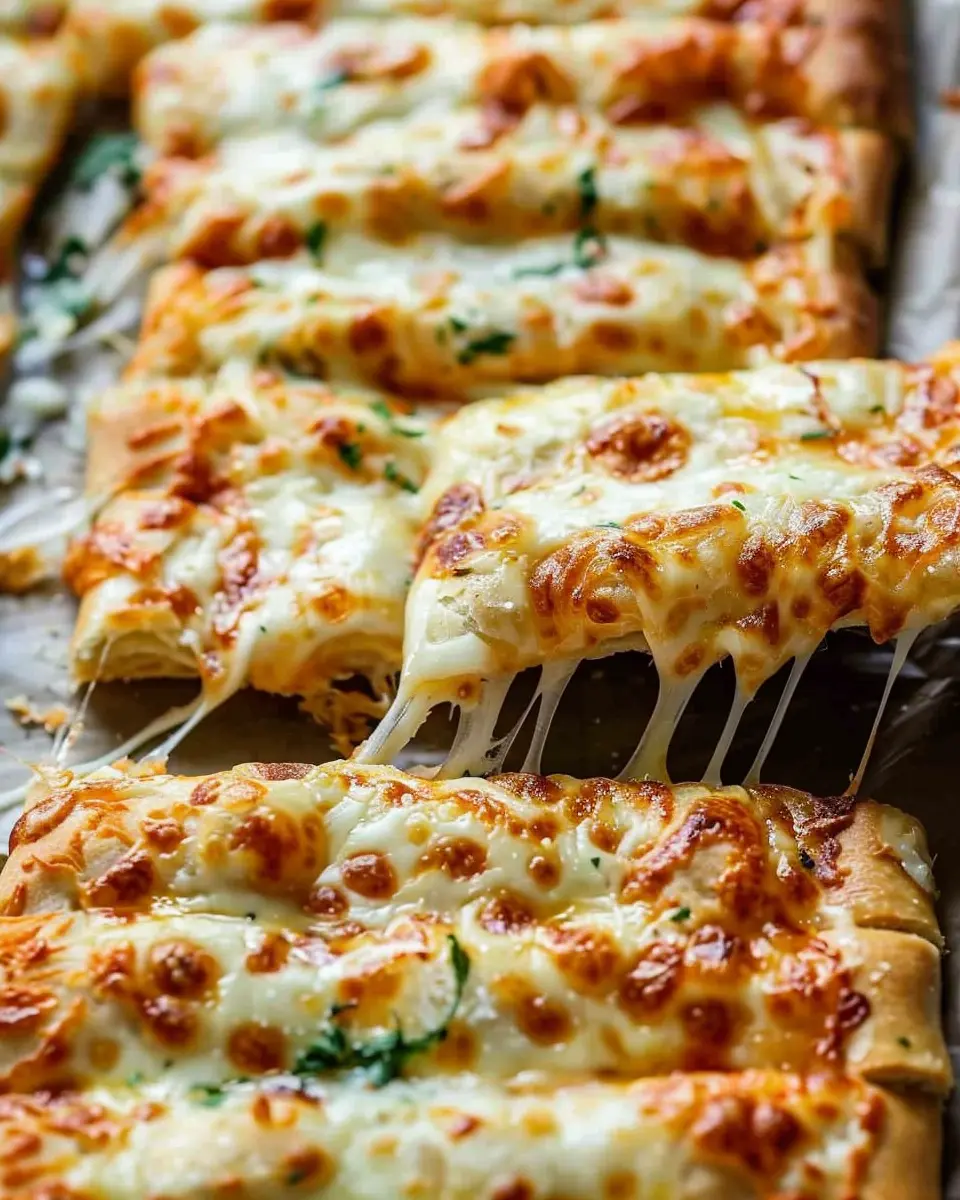
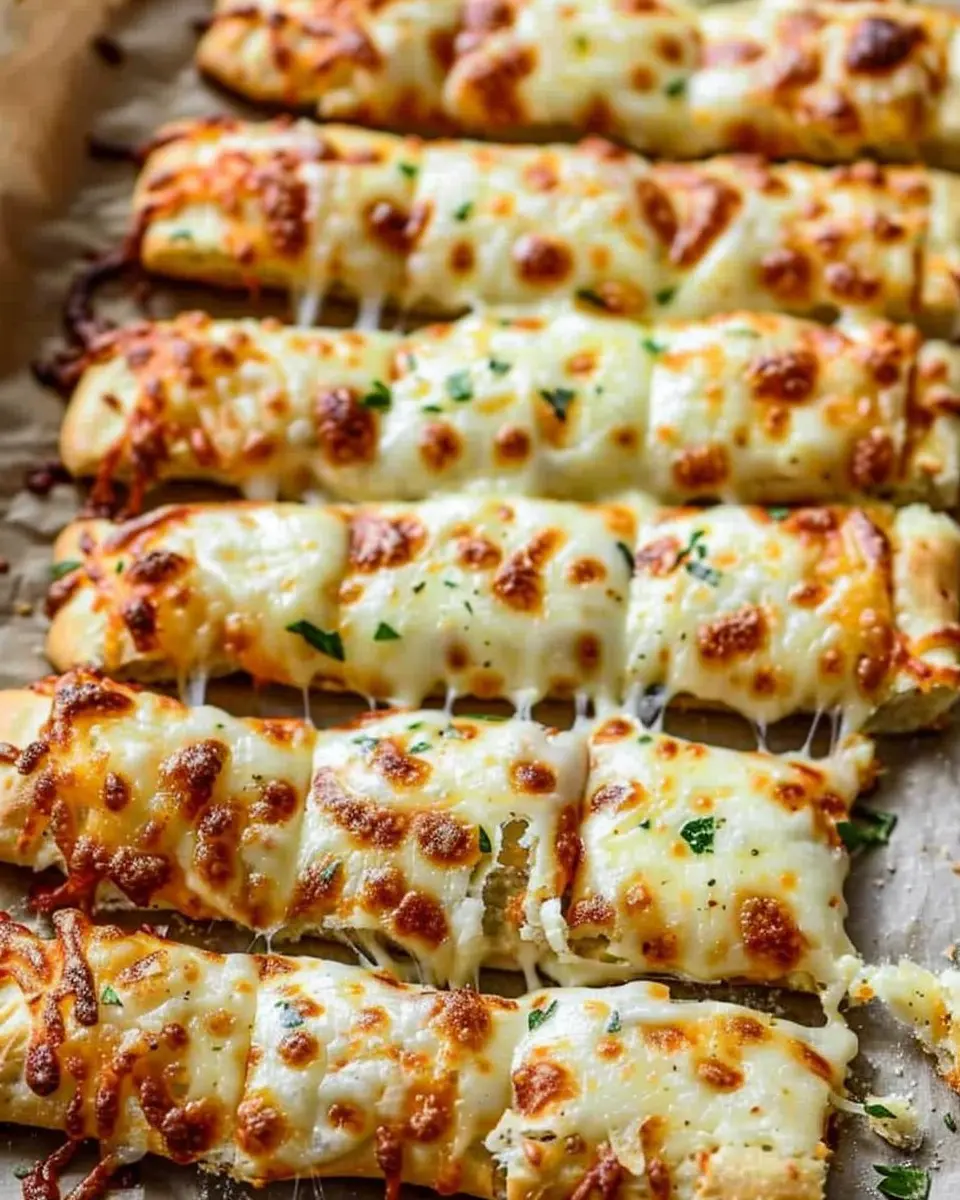
When it comes to comfort food that feels like a warm hug, cheesy garlic breadsticks are at the top of the list. Picture this: a cozy night in, your favorite movie playing, and a plate of freshly baked, gooey breadsticks smothered in cheese and infused with aromatic garlic. Sounds heavenly, right? These delightful treats are more than just a side; they’re the perfect indulgence that elevates any meal.
Why Cheesy Garlic Breadsticks Are the Ultimate Homemade Indulgence
So, what makes these cheesy breadsticks truly irresistible? For starters, they’re incredibly easy to whip up at home. With just a handful of ingredients—most of which you probably already have in your pantry—you can churn out a batch that rivals your favorite pizzeria. Plus, who doesn’t love the smell of freshly baked bread wafting through the house? That essence of garlic and melting cheese is enough to entice anyone!
Not only are they delicious, but homemade cheesy breadsticks are also customizable. Want to throw in some herbs? How about adding some turkey bacon or chicken ham for a protein punch? The world is your oyster (or in this case, your breadstick)! You can explore different flavor profiles or stick with a classic recipe, ensuring that every batch hits the spot.
And let’s talk about nutrition. When made at home, cheesy breadsticks offer the opportunity to choose healthier ingredients. Swap out processed cheeses for fresher alternatives, use whole-wheat flour, or add whole vegetables for a nutritious kick. Here’s a great resource on making healthier choices in your recipes.
As we dive into this recipe, remember that the joy of cooking lies not just in the outcome but also in the process. Gathering ingredients, mixing, kneading, and ultimately indulging is a wonderful way to connect with food. So grab your apron, and let’s make some magic happen with these cheesy garlic breadsticks!
For a delightful pairing, consider serving them with marinara sauce for dipping or alongside a fresh salad for a balanced meal. You won’t regret it; these breadsticks are sure to become a cornerstone of your recipe rotation!
Ingredients for Cheesy Garlic Breadsticks
If you want to craft the ultimate cheesy breadsticks, it’s all about those key ingredients that come together to create the perfect balance of flavor and texture. Let’s dive into the essentials you need!
Essential ingredients for the perfect dough
Creating the foundation for your breadsticks starts with the dough. Here’s what you’ll need:
- All-purpose flour: This is your primary base and gives the breadsticks their structure.
- Yeast: Either active dry or instant yeast works fine—they help the dough rise.
- Warm water: Activates the yeast for that delightful fluffiness.
- Olive oil: Adds moisture and enhances flavor.
- Salt: A small yet vital ingredient that brings all the flavors together.
Topping ingredients that elevate flavor
Now that you’ve nailed the dough, let’s talk about what goes on top—this is where the magic of cheesy garlic breadsticks happens!
- Garlic: Freshly minced or pre-made garlic paste for that bold kick.
- Cheese: Mozzarella is classic, but feel free to mix in Parmesan for extra zest.
- Italian herbs: Oregano and basil bring an aromatic touch.
- Turkey bacon or Chicken ham: For those who like to add a hint of meaty goodness, these options are tasty and lower in fat.
These simple yet impactful ingredients will turn your cheesy breadsticks into a favorite appetizer or snack. For more tips on making the perfect dough, check out this guide. Happy baking!
Preparing Cheesy Garlic Breadsticks
If you’ve ever craved a warm, cheesy breadstick fresh out of the oven, you’re in for a treat with this recipe! Making cheesy garlic breadsticks is easier than you think, and the process can be quite enjoyable. Let’s dive into the steps to create these mouthwatering snacks that are perfect for dipping in marinara sauce or enjoying straight from the oven.
Activate the yeast
The first step to your cheesy breadsticks begins with activating the yeast. Grab a small bowl and combine about 2 ¼ teaspoons of active dry yeast with 1 teaspoon of sugar and ¾ cup of warm water (around 110°F or 43°C). Stir gently and let it sit for about 5-10 minutes until it becomes frothy. This step is critical because the yeast is what makes your dough rise and gives those breadsticks their delightful fluffiness.
Combine wet ingredients
While your yeast is bubbling away, it’s time to bring together your wet ingredients. In a large mixing bowl, combine the activated yeast mixture with 2 tablespoons of olive oil and a pinch of salt. The olive oil not only adds flavor but also helps create that perfect texture in your breadsticks. Interested in using olive oil for its health benefits? You can check out this article for some insightful information!
Gradually mix in the flour
Now that your wet ingredients are ready, it’s time to bring in the dry ingredients. Gradually add about 2 to 3 cups of all-purpose flour to the wet mixture, one cup at a time. Use a wooden spoon initially to combine them. The dough should start to form and become less sticky as you stir. You’re aiming for a slightly tacky but manageable texture, so keep an eye on how much flour you’re incorporating.
Knead the dough to perfection
Once your dough starts to come together, transfer it to a floured surface. Here’s where the magic happens! Begin kneading the dough – push it down and fold it over itself, turning it as you go. You’ll want to knead it for about 5-7 minutes until it’s smooth and elastic. This step really helps develop the gluten, which will give your breadsticks that delightful chewiness we all love.
Allow the dough to rise
After kneading, place your dough in a lightly oiled bowl and cover it with a clean kitchen towel. Let it rise in a warm, draft-free environment for about 1 hour, or until it has doubled in size. This step is essential; it allows the yeast to work its magic, making your cheesy garlic breadsticks airy and fluffy.
Prepare the oven and baking surface
While your dough rises, it’s time to get prepared. Preheat your oven to 400°F (200°C). Line a baking sheet with parchment paper to prevent sticking and make cleanup easier. If you have a pizza stone, feel free to use that for an even crispier crust!
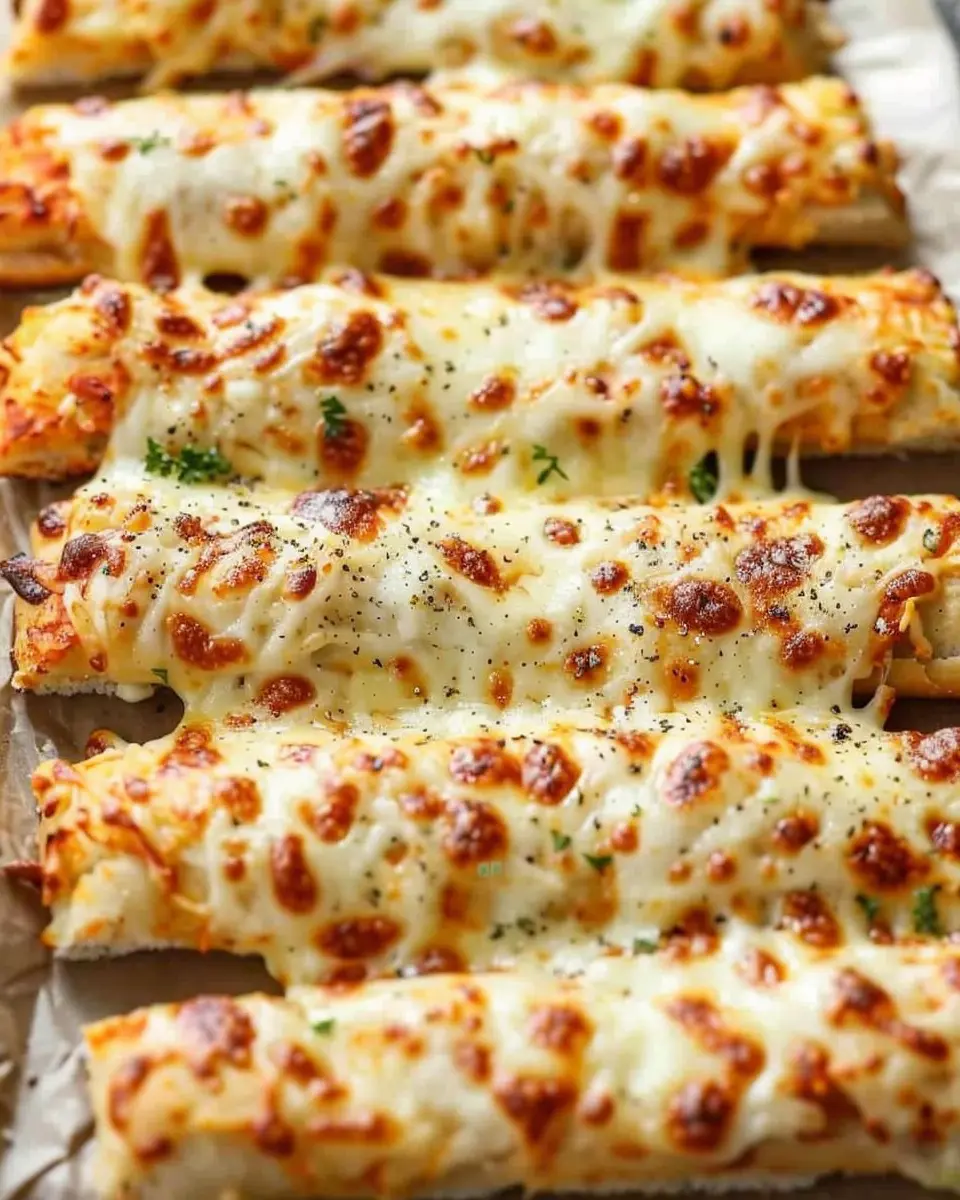
Roll out the dough and add toppings
Once your dough has risen, punch it down gently to release any air bubbles, and roll it out on a floured surface into a rectangle about ½ inch thick. Cut the dough into strips (about 2 inches wide), and here’s where you can get creative! Brush melted butter or olive oil over the top, and generously sprinkle minced garlic, Italian seasoning, and your favorite cheeses. Mozzarella and Parmesan are great choices for that gooey, stretchy effect.
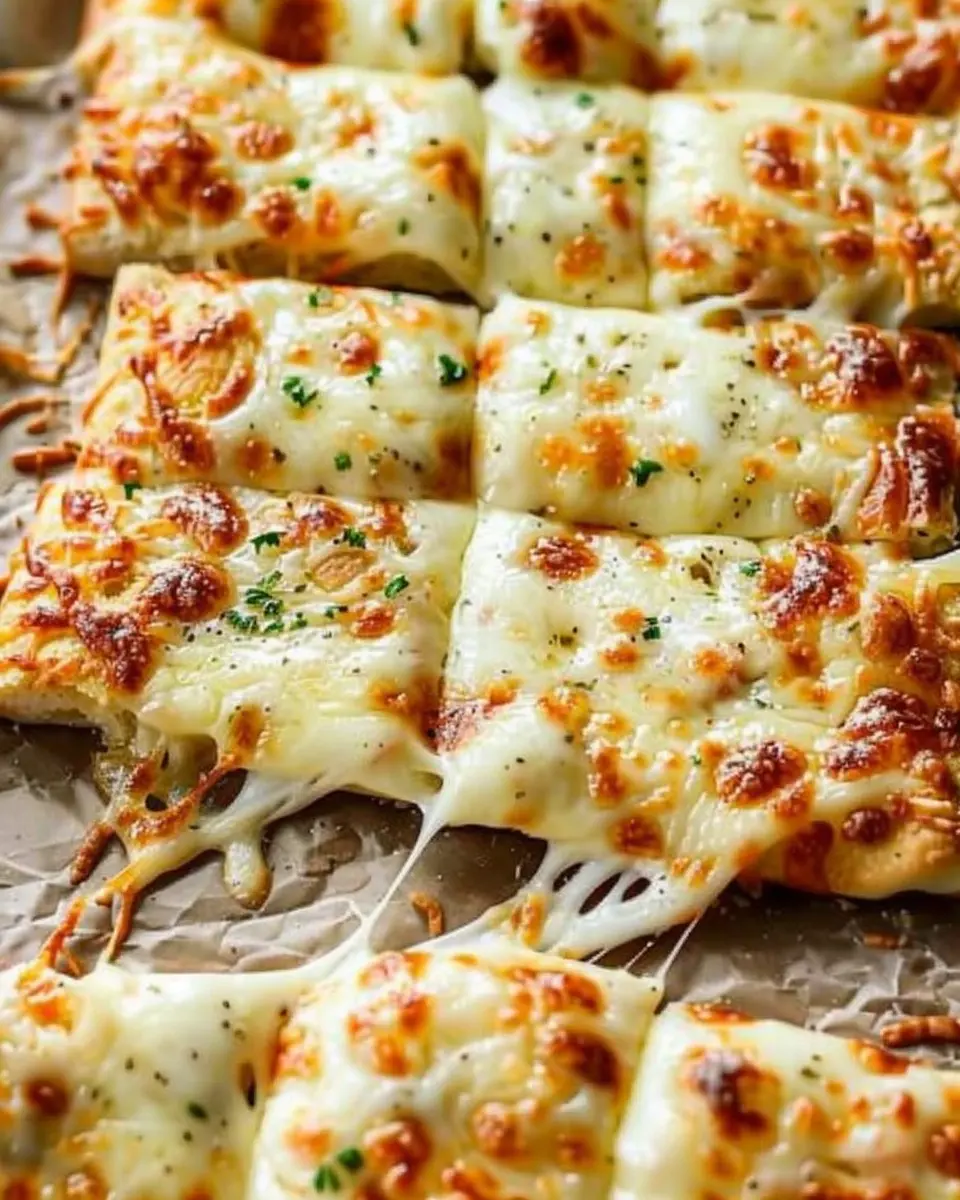
Bake until golden and bubbly
Transfer your prepared dough to the oven and bake for about 12-15 minutes, or until your cheesy breadsticks are golden brown and bubbling with melted cheese. The kitchen will smell incredible during this time—trust me, it’s hard to resist peeking inside!
Once baked, let them cool for a minute before serving. These cheesy garlic breadsticks are perfect for any gathering, movie night, or just as a treat to yourself after a long day. Enjoy your baking adventure!
Variations on Cheesy Garlic Breadsticks
When it comes to cheesy breadsticks, the classic recipe is undeniably delightful, but don’t shy away from mixing things up! Here are two enticing variations that can elevate your cheesy breadsticks experience to a whole new level.
Cheesy Breadsticks with Herbs
Imagine the aroma of fresh herbs wafting through your kitchen! For an herbal twist, try mixing in a medley of dried or fresh herbs like oregano, thyme, and rosemary into your cheese blend. Not only do these herbs add a vibrant flavor, but they also provide a beautiful sprinkle of color.
- Ingredients: 1 cup shredded mozzarella, ¼ cup grated Parmesan, and a teaspoon of mixed herbs.
- Tip: For an extra herby kick, consider making an herb-infused olive oil to drizzle over the breadsticks before serving.
Serve them alongside a simple marinara or a zesty pesto you can learn to make here. Your friends will be raving about them!
Spicy Cheesy Garlic Breadsticks
If you’re a fan of heat, then these spicy cheesy garlic breadsticks might just be your new favorite. Adding a dash of crushed red pepper flakes or a sprinkle of cayenne pepper can provide the perfect kick to your cheesy delight.
- Ingredients: Start with your basic cheesy breadsticks mixture and add 1-2 teaspoons of crushed red pepper flakes, depending on your spice tolerance.
- Pair it up: Create a cooling dip from plain yogurt mixed with a squeeze of lime and a dash of salt to balance out the heat.
Do not hesitate to experiment with different cheeses; a blend of pepper jack and mozzarella can take your flavor profile to exciting new heights!
Incorporating these variations not only enhances the taste but allows you to personalize your cheesy breadsticks based on your mood. What will you try first?
Cooking tips for Cheesy Garlic Breadsticks
Tips for perfect dough texture
Getting the dough just right is crucial for those cheesy breadsticks to shine. Start with warm water (around 110°F) to activate your yeast properly. A good rule of thumb? Use all-purpose flour for a balanced texture—not too dense, not too fluffy. Knead until smooth and elastic, about 5-7 minutes. If the dough is too sticky, sprinkle in a little flour; if it’s too dry, add a splash of warm water. Let it rise in a warm spot until it doubles in size—this is where the magic happens!
Ideas for maximizing flavor
Flavor is key in making your cheesy garlic breadsticks unforgettable. Consider incorporating:
- Fresh herbs like oregano or basil into the dough for an aromatic twist.
- Layering garlic butter generously before sprinkling the cheese; use a mixture of mozzarella for stretch and Parmesan for a salty kick.
- Experimenting with crunchy toppings such as Italian seasoning or red pepper flakes for heat.
Want to take it a step further? Try pairing these cheesy breadsticks with a homemade marinara sauce—check out this simple recipe for a delicious dip!
Serving suggestions for Cheesy Garlic Breadsticks
Best dipping sauces to complement your cheesy breadsticks
When it comes to enjoying cheesy breadsticks, the right dipping sauce can elevate your snack to a whole new level. Here are some of my favorite sauces that pair perfectly:
- Marinara Sauce: A classic choice, this tangy tomato sauce brings a delightful contrast to the gooey cheese.
- Alfredo Sauce: Creamy and rich, Alfredo’s smooth texture complements the garlic flavor beautifully.
- Ranch Dressing: For a twist, try a zesty ranch! It adds a cool creaminess that balances the breadsticks’ warmth.
You can even experiment with shop-bought or homemade sauces for a more personalized touch.
Pairing with homemade dishes for a complete meal
Want to make mealtime memorable? Serve your cheesy garlic breadsticks alongside homemade staples. Think:
- Chicken pasta: The cheesy goodness pairs well with a creamy chicken pasta dish.
- Minestrone soup: These breadsticks can serve as a hearty side to a warm bowl of minestrone.
- Salads: A fresh salad with seasonal veggies offers a perfect mix of health and indulgence.
Whether it’s a cozy weeknight dinner or a gathering with friends, these combos create a satisfying spread. Want more ideas? Check out this pasta recipe for even more inspiration!
Time breakdown for Cheesy Garlic Breadsticks
Preparation time
Making cheesy breadsticks starts with a simple prep phase. All you need is about 15-20 minutes to gather your ingredients and whip up the dough. This is the perfect time to crank up your favorite playlist and get into a cooking groove.
Rising time
After preparing your dough, let it rise for about 1 hour. This allows the yeast to work its magic, resulting in light and fluffy breadsticks. Consider using this time for some light meal prep or relaxing with a good book.
Baking time
Once your dough has risen, it’s time to bake those beautiful sticks! Set aside 15-20 minutes for baking. Keep an eye on them to ensure they reach that perfect golden brown hue, giving off heavenly aromas that will entice everyone around.
Total time
In total, you’re looking at around 1 hour and 45 minutes from start to finish, including preparation and rising time. The best part? The deliciously cheesy garlic goodness you’ll enjoy at the end is absolutely worth it!
For tips on rising dough, check out the Baker’s Association for in-depth techniques. And if you’re curious about cheese options, you might want to explore Cheese.com for recommendations that will elevate your cheesy breadsticks!
Nutritional facts for Cheesy Garlic Breadsticks
When enjoying cheesy breadsticks, it’s essential to understand the nutritional content to make informed choices. Here’s a quick breakdown of what you’ll find in a typical serving:
Calories
Each serving of cheesy garlic breadsticks packs around 250 calories. This can vary depending on the ingredients and portion size, but it offers a satisfying treat without completely derailing your meal plan.
Protein
In a delicious serving, you can expect about 8 grams of protein. This makes it a better option compared to some other appetizers, helping to keep you feeling full for longer.
Sodium
Watch out for sodium! A typical serving contains approximately 500 milligrams. This flavor enhancer is tasty, but too much can lead to health concerns like high blood pressure. Be sure to balance it out with some low-sodium options in your diet.
For more detailed insights on nutritional guidelines, check out the USDA FoodData Central or visit Healthline’s Nutrition section for tips on maintaining a balanced diet.
FAQs about Cheesy Garlic Breadsticks
Can I freeze cheesy garlic breadsticks?
Absolutely! Freezing cheesy garlic breadsticks is a great way to enjoy them later. Just make sure they’re completely cooled before wrapping them tightly in plastic wrap or aluminum foil. For added protection, place them in a sealed freezer bag. They can last in the freezer for up to three months. To reheat, simply place them in the oven at 375°F (190°C) for about 10-15 minutes until warmed through and cheesy.
What’s the best way to store leftovers?
If you’re lucky enough to have leftovers, store your cheesy breadsticks in an airtight container in the refrigerator. They should keep well for about three to four days. When you’re ready to enjoy them, a quick reheat in the oven or toaster oven will bring back that cheesy goodness. Just avoid the microwave, as it can make the breadsticks chewy rather than crispy.
How can I customize toppings for my breadsticks?
The beauty of cheesy garlic breadsticks lies in their versatility! You can easily customize them to suit your taste. Here are some delicious topping ideas:
- Herbs and Spices: Consider sprinkling on fresh chopped parsley, oregano, or even a dash of crushed red pepper for a kick.
- Cheese Varieties: While mozzarella is classic, why not mix it up with some provolone or cheddar for added flavor?
- Meat Toppings: Give them a protein boost with Turkey Bacon or Chicken Ham. Just chop them finely and sprinkle them on top before baking.
- Veggies: Add sliced jalapeños or bell peppers for a fresh twist.
Be creative! Every variation can lead to a new favorite. For more topping ideas, check out this resource.
Isn’t it great to have such delicious options at your fingertips? Happy baking!
Conclusion on Cheesy Garlic Breadsticks
Why homemade cheesy garlic breadsticks are a must-try
Homemade cheesy garlic breadsticks are not just an accompaniment; they’re the star of the show! Imagine a cozy night in with friends or a casual dinner after a long workday, and these delightful sticks take center stage.
Why go the homemade route? For starters, you control every ingredient, ensuring freshness and flavor. Plus, there’s something incredibly satisfying about pulling a golden-brown tray from the oven, the aroma wafting through your kitchen. Also, creating these tasty treats is simpler than you might think, allowing you to impress your guests without spending all day in the kitchen.
So, why not treat yourself? You deserve a bite of heaven! For more tips on elevating your breadstick game, check out this helpful guide on cheesy appetizers.
PrintCheesy Breadsticks: The Best Comfort Food for Homemade Indulgence
Cheesy breadsticks are the perfect comfort food that you can easily make at home for a delicious indulgence.
- Prep Time: 15 minutes
- Cook Time: 20 minutes
- Total Time: 1 hour 35 minutes
- Yield: 12 breadsticks 1x
- Category: Appetizer
- Method: Baking
- Cuisine: Italian
- Diet: Vegetarian
Ingredients
- 1 cup warm water
- 2 tablespoons sugar
- 2 teaspoons active dry yeast
- 2 1/2 cups all-purpose flour
- 1 teaspoon salt
- 2 tablespoons olive oil
- 1 1/2 cups shredded mozzarella cheese
- 1 teaspoon garlic powder
- 1 tablespoon Italian seasoning
Instructions
- In a small bowl, combine warm water, sugar, and yeast. Let it sit for 5-10 minutes until foamy.
- In a large bowl, mix flour and salt. Pour in the yeast mixture and olive oil. Stir until a dough forms.
- Knead the dough on a floured surface for about 5 minutes until smooth.
- Place the dough in a greased bowl, cover it, and let it rise for 1 hour or until doubled in size.
- Preheat the oven to 425°F (220°C).
- Roll out the dough onto a parchment-lined baking sheet, shape it into a rectangle.
- Sprinkle mozzarella cheese, garlic powder, and Italian seasoning on top.
- Bake for 15-20 minutes or until golden brown and cheese is bubbly.
- Remove from the oven, cut into sticks, and serve warm.
Notes
- For extra flavor, brush the breadsticks with melted butter before serving.
- Feel free to customize the toppings with your favorite cheeses or herbs.
Nutrition
- Serving Size: 1 breadstick
- Calories: 120
- Sugar: 1g
- Sodium: 200mg
- Fat: 5g
- Saturated Fat: 2.5g
- Unsaturated Fat: 2g
- Trans Fat: 0g
- Carbohydrates: 16g
- Fiber: 1g
- Protein: 4g
- Cholesterol: 10mg
Keywords: Cheesy Breadsticks